Living Dough
Soviet Rye Sourdough Starter. Organic Fresh Active Russian heritage sour yeast culture - From Russia with Love
Soviet Rye Sourdough Starter. Organic Fresh Active Russian heritage sour yeast culture - From Russia with Love
Couldn't load pickup availability
Frequently Asked Questions
What to feed, what not to feed?
When feeding it is important to feed everyday while keeping out at room temperature while keeping 1:1:1 ratio of starter to water to flour.. so that everyday the feeding amount would increase as the starter increases in size. Use only flour which has not been bleached. Besides 'unbleached' white flour, whole grain flour, einkorn, dark rye and organic flour are not bleached.
Also do not use distilled water, RO water, hard water or chlorinated water (many city waters have small amounts of chlorine). We recommend bottled water, spring water, or filtered tap water.
Good smell vs bad smell?
Usually the bad smell simply means it hungry. In fact this is an indication that your starter is extra hungry, and has produced lots of acetic acid from eating all the flour and looking for more. Try feeding it double amount, as it is showing signs of life by still converting the flour to acetic acid. You can discard some before feeding as well if needed if you are getting too much starter.
Is my starter dead?
To start all purpose flour works best and cover it lightly with a towel, not airtight. After it comes back you can switch to other flours as bread flour and whole grain flour would be more appropriate long term. The starter will need to be fed at least its weight in flour each day.
Sometimes the starter bounces back after 1 feeding and sometimes takes 6 days...
They can survive days without being fed as well if needed, but just need a little time to bounce back.
Reminder when feeding it is important to feed everyday while keeping out at room temperature, while keeping 1:1:1 ratio of starter to water to flour.. if you are not discarding, then everyday the feeding amount would increase as the weight of the starter increases. Without discarding your feeding amount would be 3x the amount as the day before.
Use flour which has not been bleached..this would include 'unbleached white flour, but also einkorn, whole grain, dark rye or any organic flour. None of these flours are bleached.
Also do not use distilled water, RO water, hard water or chlorinated water (many city waters have small amounts of chlorine). We recommend bottled water, spring water or filtered tap water.
Well-maintained mature sourdough starters are extremely hardy and resistant to invaders. It's pretty darn hard to kill them. A little patience and it'll be back to 100% in no time.
If there's nothing after about 6 days, it works to give one extra large feeding... 3 times as much as you have been feeding it. This would be a 1:3:3 feeding ratio and usually does the trick to get them back.
I can resend you a new shipment if you would like if you still feel it is not bouncing back for you after a couple days... kindly let me know how i can make you 100% satisfied.
What is hooch?
Sourdough hooch, often simply referred to as "hooch," is a liquid that can develop on the surface of a sourdough starter. A sourdough starter is a mixture of flour and water used to capture wild yeast and lactic acid bacteria from the environment, essential for making sourdough bread.
Hooch is a byproduct of the fermentation process within the sourdough starter. It's a clear, watery layer that forms when the starter has been sitting for a while, especially if it hasn't been refreshed regularly. This hooch formation occurs because the wild yeast and bacteria in the starter produce alcohol as they consume the carbohydrates in the flour.
The presence of hooch in a sourdough starter indicates that the starter is hungry and requires feeding. To address this, you have two options:
- You can choose to mix the hooch back into the starter. This may intensify the sour flavor of your sourdough bread.
- Alternatively, you can pour off the hooch and then feed the starter with fresh flour and water. This replenishes the starter's food supply, ensuring it remains active and healthy, ready for use in baking.
In summary, sourdough hooch is the clear, liquid layer that can appear on top of a sourdough starter, signaling that the starter needs nourishment to maintain its vigor and effectiveness in leavening bread.
What to discard?
When maintaining a sourdough starter, you typically discard a portion of the starter before each feeding. This is done to control the size of the starter and to refresh it with fresh flour and water. Here's how to do it:
- Take a Portion to Discard: Before each feeding, remove a portion of your existing sourdough starter. The amount you discard can vary, but it's typically about half of the starter's volume. You can use a kitchen scale to measure if you want precision, or you can eyeball it.
- Discard or Use: You have two options for what to do with the portion you've removed:
- Feed the Remaining Starter: After discarding, the remaining portion of the starter is now ready to be fed. To feed it, add an equal amount (by weight) of fresh flour and water. For example if you had 200 grams starter, if you discarded 100 grams of starter, add 100 grams of flour and 100 grams of water. Mix well to create a smooth, thick batter.
- Allow It to Ferment: After feeding, let the starter sit at room temperature for several hours or until it becomes active and bubbly. This can take anywhere from a few hours to half a day or more, depending on various factors like temperature and the activity of your starter.
By regularly discarding and feeding your sourdough starter, you maintain its health, control its volume, and ensure that it remains active and ready for baking. The discarded portions can be a source of experimentation with sourdough discard recipes, reducing waste in the process.
When can I bake?
You can bake with your sourdough starter once it's active, bubbly, and has passed the "float test." Here's what you should look for before using your sourdough starter in a recipe:
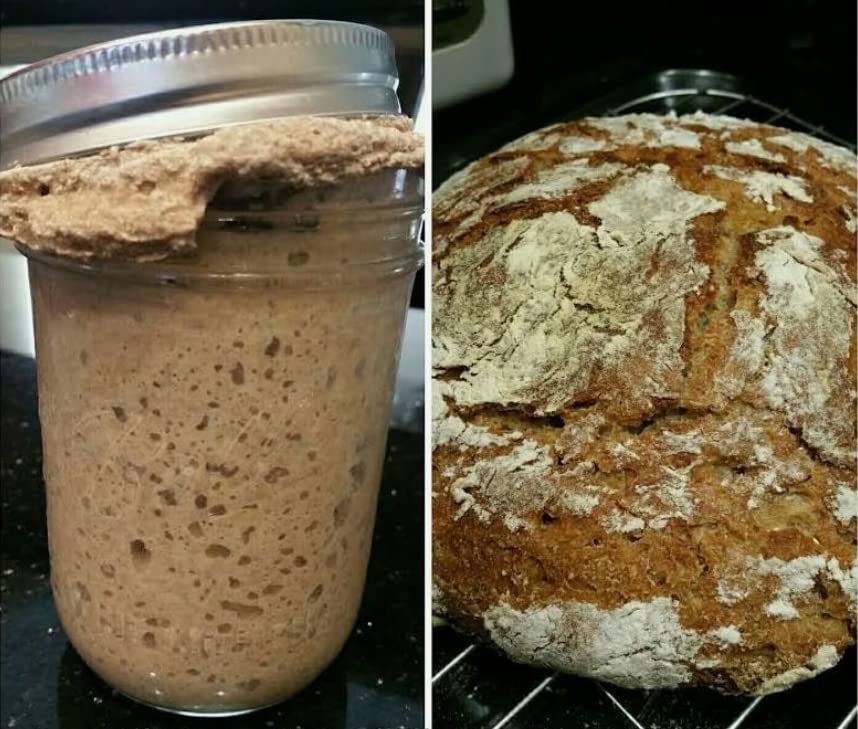
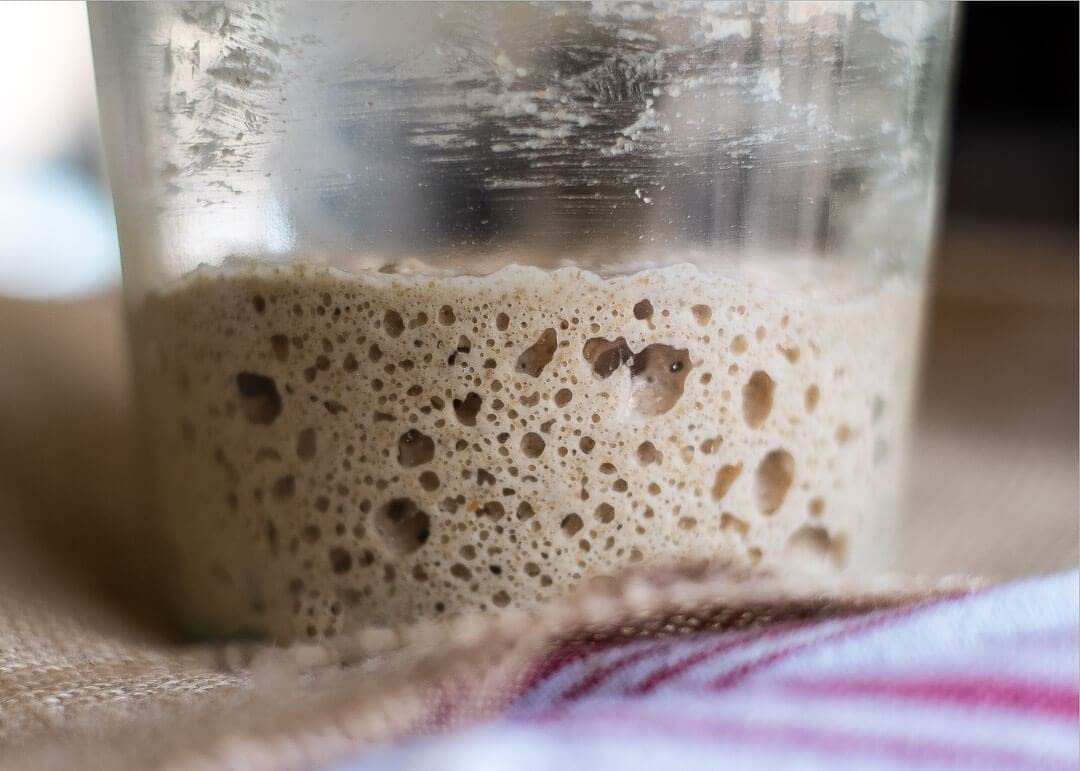
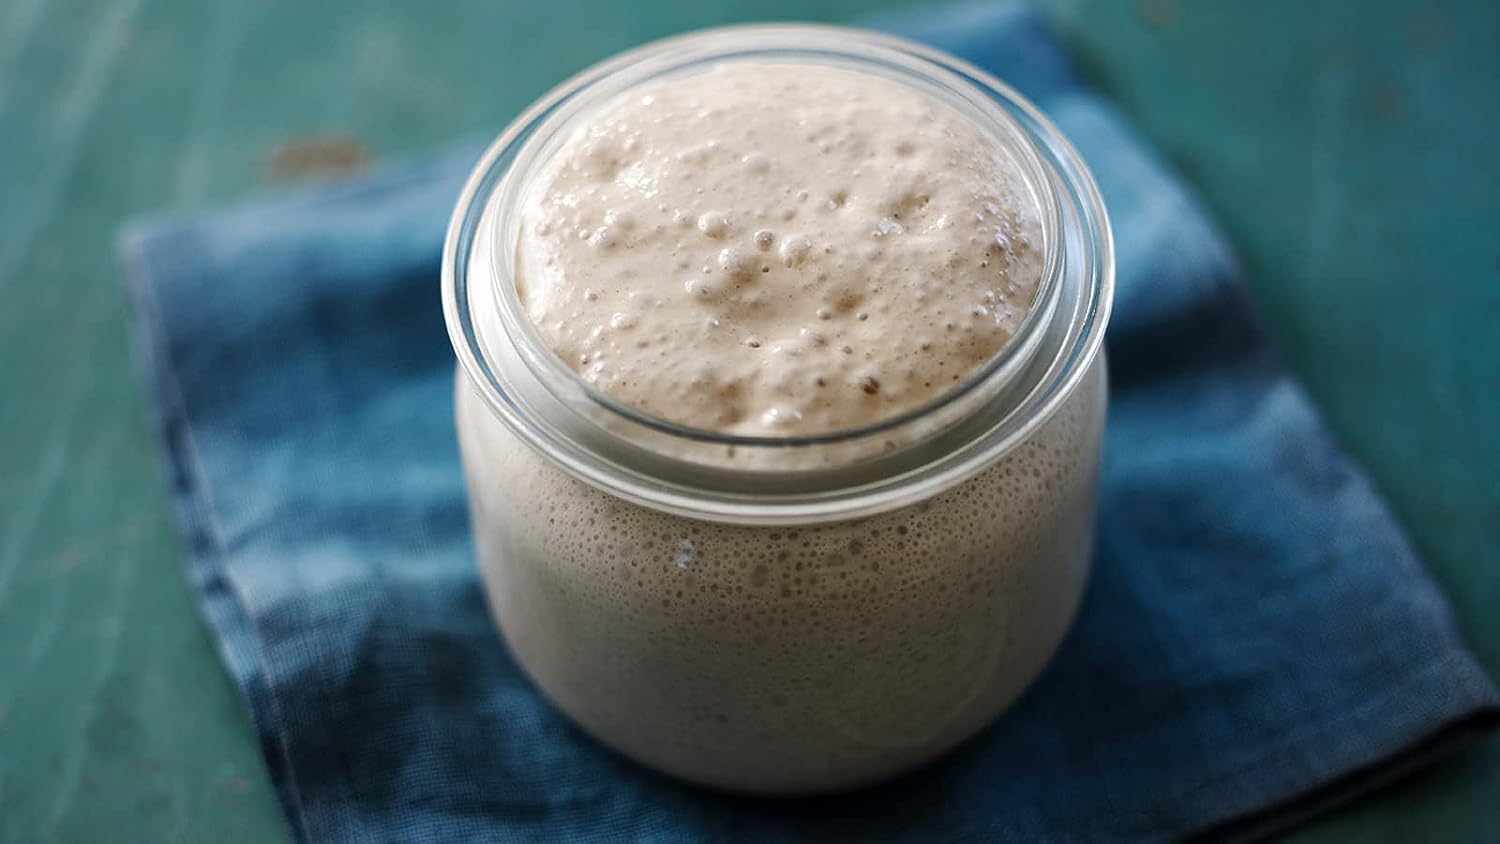
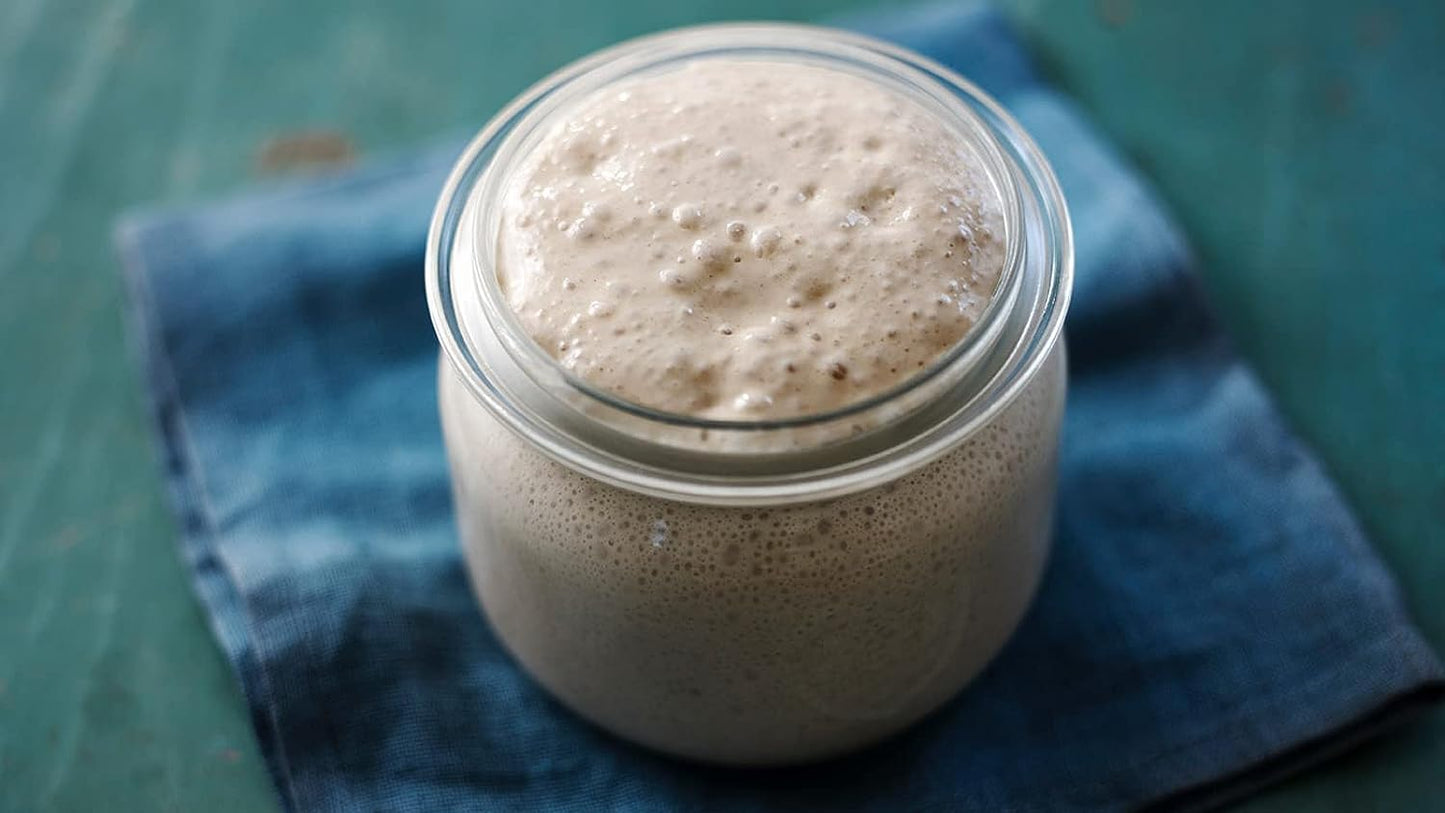
- Active and Bubbly: Your sourdough starter should be visibly active, which means it's bubbling and has increased in volume. This indicates that the wild yeast and lactic acid bacteria in the starter are actively fermenting the mixture.
- Risen and Doubled in Size: When you feed your starter (mixing it with fresh flour and water), it should rise and double in size within a few hours. This is a sign of its strength and readiness.
Typically, it can take 4 to 8 hours or longer after a feeding for a sourdough starter to become sufficiently active and pass the float test, but this can vary depending on factors like temperature and the specific characteristics of your starter. It's important to be patient and let your starter reach its peak activity before using it in your sourdough recipes. Using an underactive starter may result in bread that doesn't rise properly or lacks the desired flavor.
Once your starter meets these criteria, you can confidently use it to bake your sourdough bread or other sourdough recipes, knowing that it's at its most potent and ready to contribute to the fermentation and flavor development of your baked goods.
How do I make my sourdough starter more (or less) sour?
To Make Your Sourdough Starter More Sour:
- Use a Lower Feeding Ratio: A higher ratio of flour to water in your feedings can encourage a more sour flavor. Try using a stiffer starter by increasing the amount of flour relative to water when feeding. For example, if you normally feed with equal parts (100% hydration), switch to a lower hydration ratio, like 60% hydration, by using 60 grams of water for every 100 grams of flour. This can promote a more sour taste.
- Ferment at a Cooler Temperature: Lower fermentation temperatures can promote the growth of lactic acid bacteria, which contribute to sourness. Try fermenting your starter in a cooler spot (around 70°F or 21°C) rather than a warmer location.
- Extended Fermentation: Allow your starter to ferment for a longer period between feedings. This gives the lactic acid bacteria more time to produce acidity. You can do this by reducing the frequency of feedings or letting the starter sit at room temperature for longer periods between feedings.
To Make Your Sourdough Starter Less Sour:
- Use a Higher Feeding Ratio: A higher hydration ratio (more water relative to flour) in your feedings can result in a milder flavor. Stick to a 100% hydration ratio or even increase the hydration to make the starter more liquid. This encourages the growth of yeast, which produces fewer acids than lactic acid bacteria.
- Ferment at a Warmer Temperature: Higher temperatures, around 75-80°F (24-27°C), can promote yeast activity over lactic acid production, leading to a milder flavor.
- Shorten Fermentation Time: Reduce the time your starter ferments between feedings. Frequent feedings and shorter fermentation periods can help reduce sourness.
- Refresh with Commercial Yeast: If you want to significantly reduce sourness, you can incorporate a small amount of commercial yeast into your bread recipe. This will increase the speed of fermentation and result in a milder flavor.
When can I utilize my refrigerator?
You can utilize your refrigerator for storing your sourdough starter when you want to slow down its fermentation and reduce the frequency of feedings. This can be useful when you don't plan to bake with your starter for an extended period or if you want to maintain a lower-maintenance schedule. Here's how to store your sourdough starter in the refrigerator:
- Prepare Your Starter: Make sure your sourdough starter is healthy and active before refrigerating it. Feed it as you normally would, allowing it to rise and double in size.
- Choose a Container: Use an airtight container or jar to store your starter in the refrigerator. Ensure that the container is clean and has enough room for the starter to expand slightly during fermentation.
- Transfer and Seal: Transfer your active starter into the container, seal it tightly with a lid or plastic wrap, and make sure it's securely closed to prevent air from entering.
- Label and Date: It's a good practice to label the container with the date when you placed the starter in the refrigerator. This helps you keep track of its age.
- Store in the Refrigerator: Place the sealed container with your sourdough starter in the refrigerator. The cooler temperature will slow down the fermentation process, and your starter can be stored in the refrigerator for up to several weeks without needing to be fed.
- Maintenance: While in the refrigerator, you can reduce the feeding frequency to once a week or even less, depending on how long you plan to keep it refrigerated. Feeding it less frequently is fine since the cold environment will slow down the metabolic activity of the starter.
When you're ready to use your starter again, take it out of the refrigerator, allow it to come to room temperature for a few hours, and then feed it as you normally would. After a feeding or two at room temperature, your starter should regain its strength and be ready for baking.

